
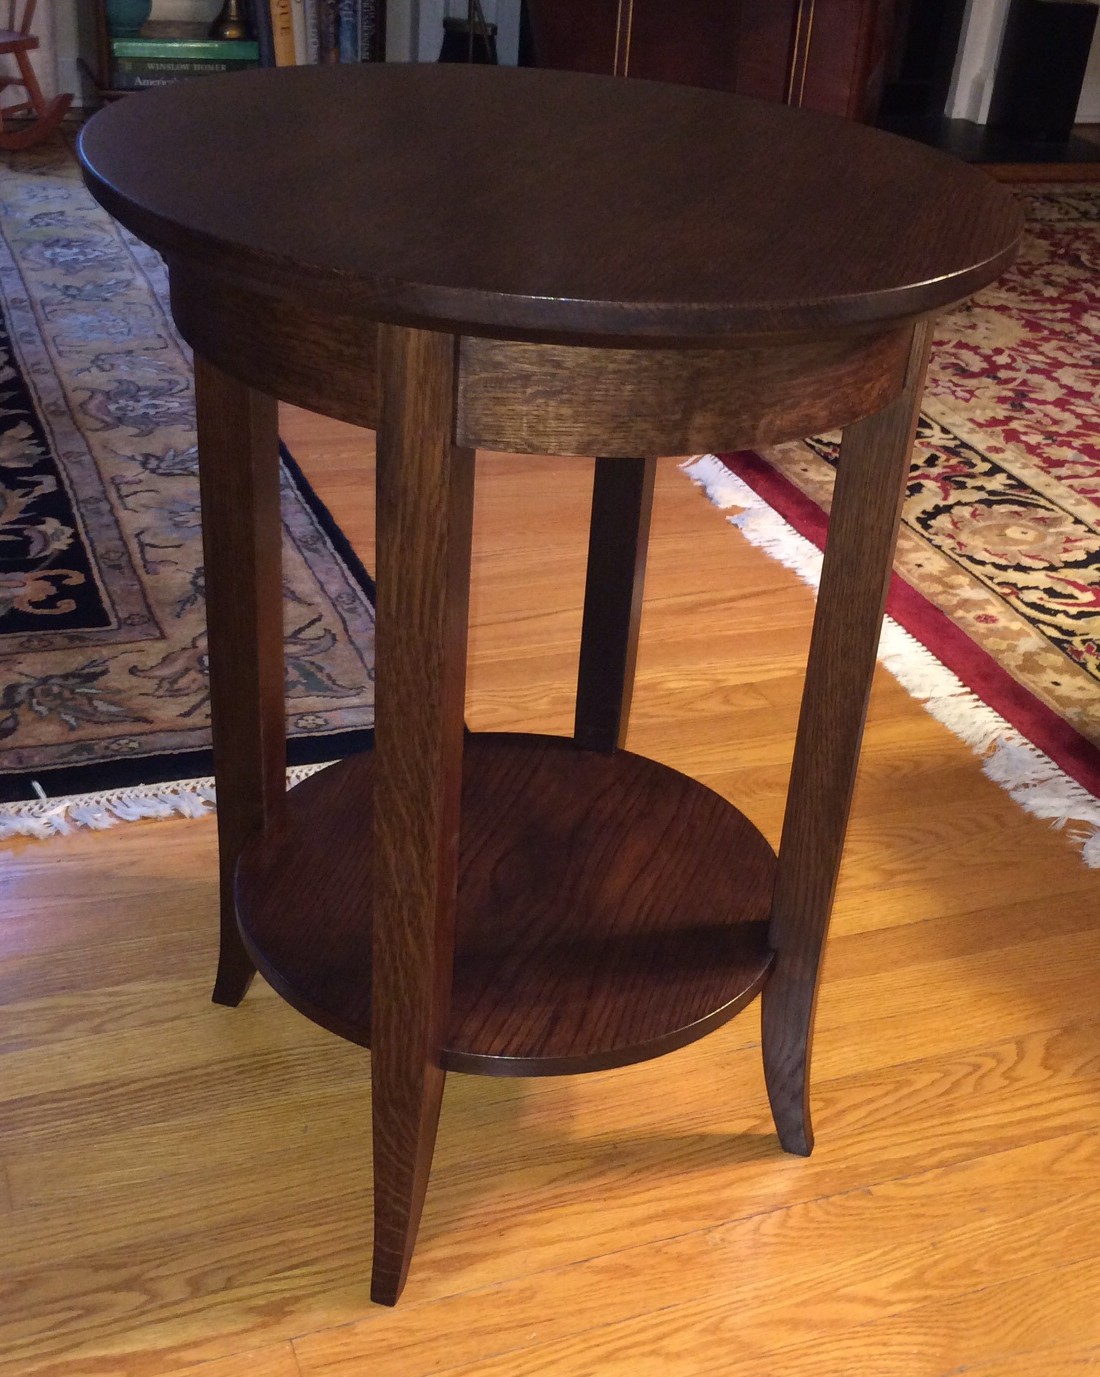
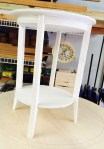
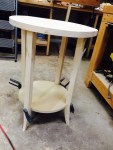
Finished!
We had them over for dinner before the wedding and told them what we had planned. They were excited and I suggested we needed a planning call to tie down the details. I had a call with Amy and we Googled ‘small side tables’ together – almost immediately she pointed out a round table with a shelf and Hepplewhite style slightly curved legs. Now I was really excited – the idea of making a round table and especially figuring out how to make the curved rail would add a challenge. They like some dark, mission style oak furniture in our house, so I decided to use white oak.
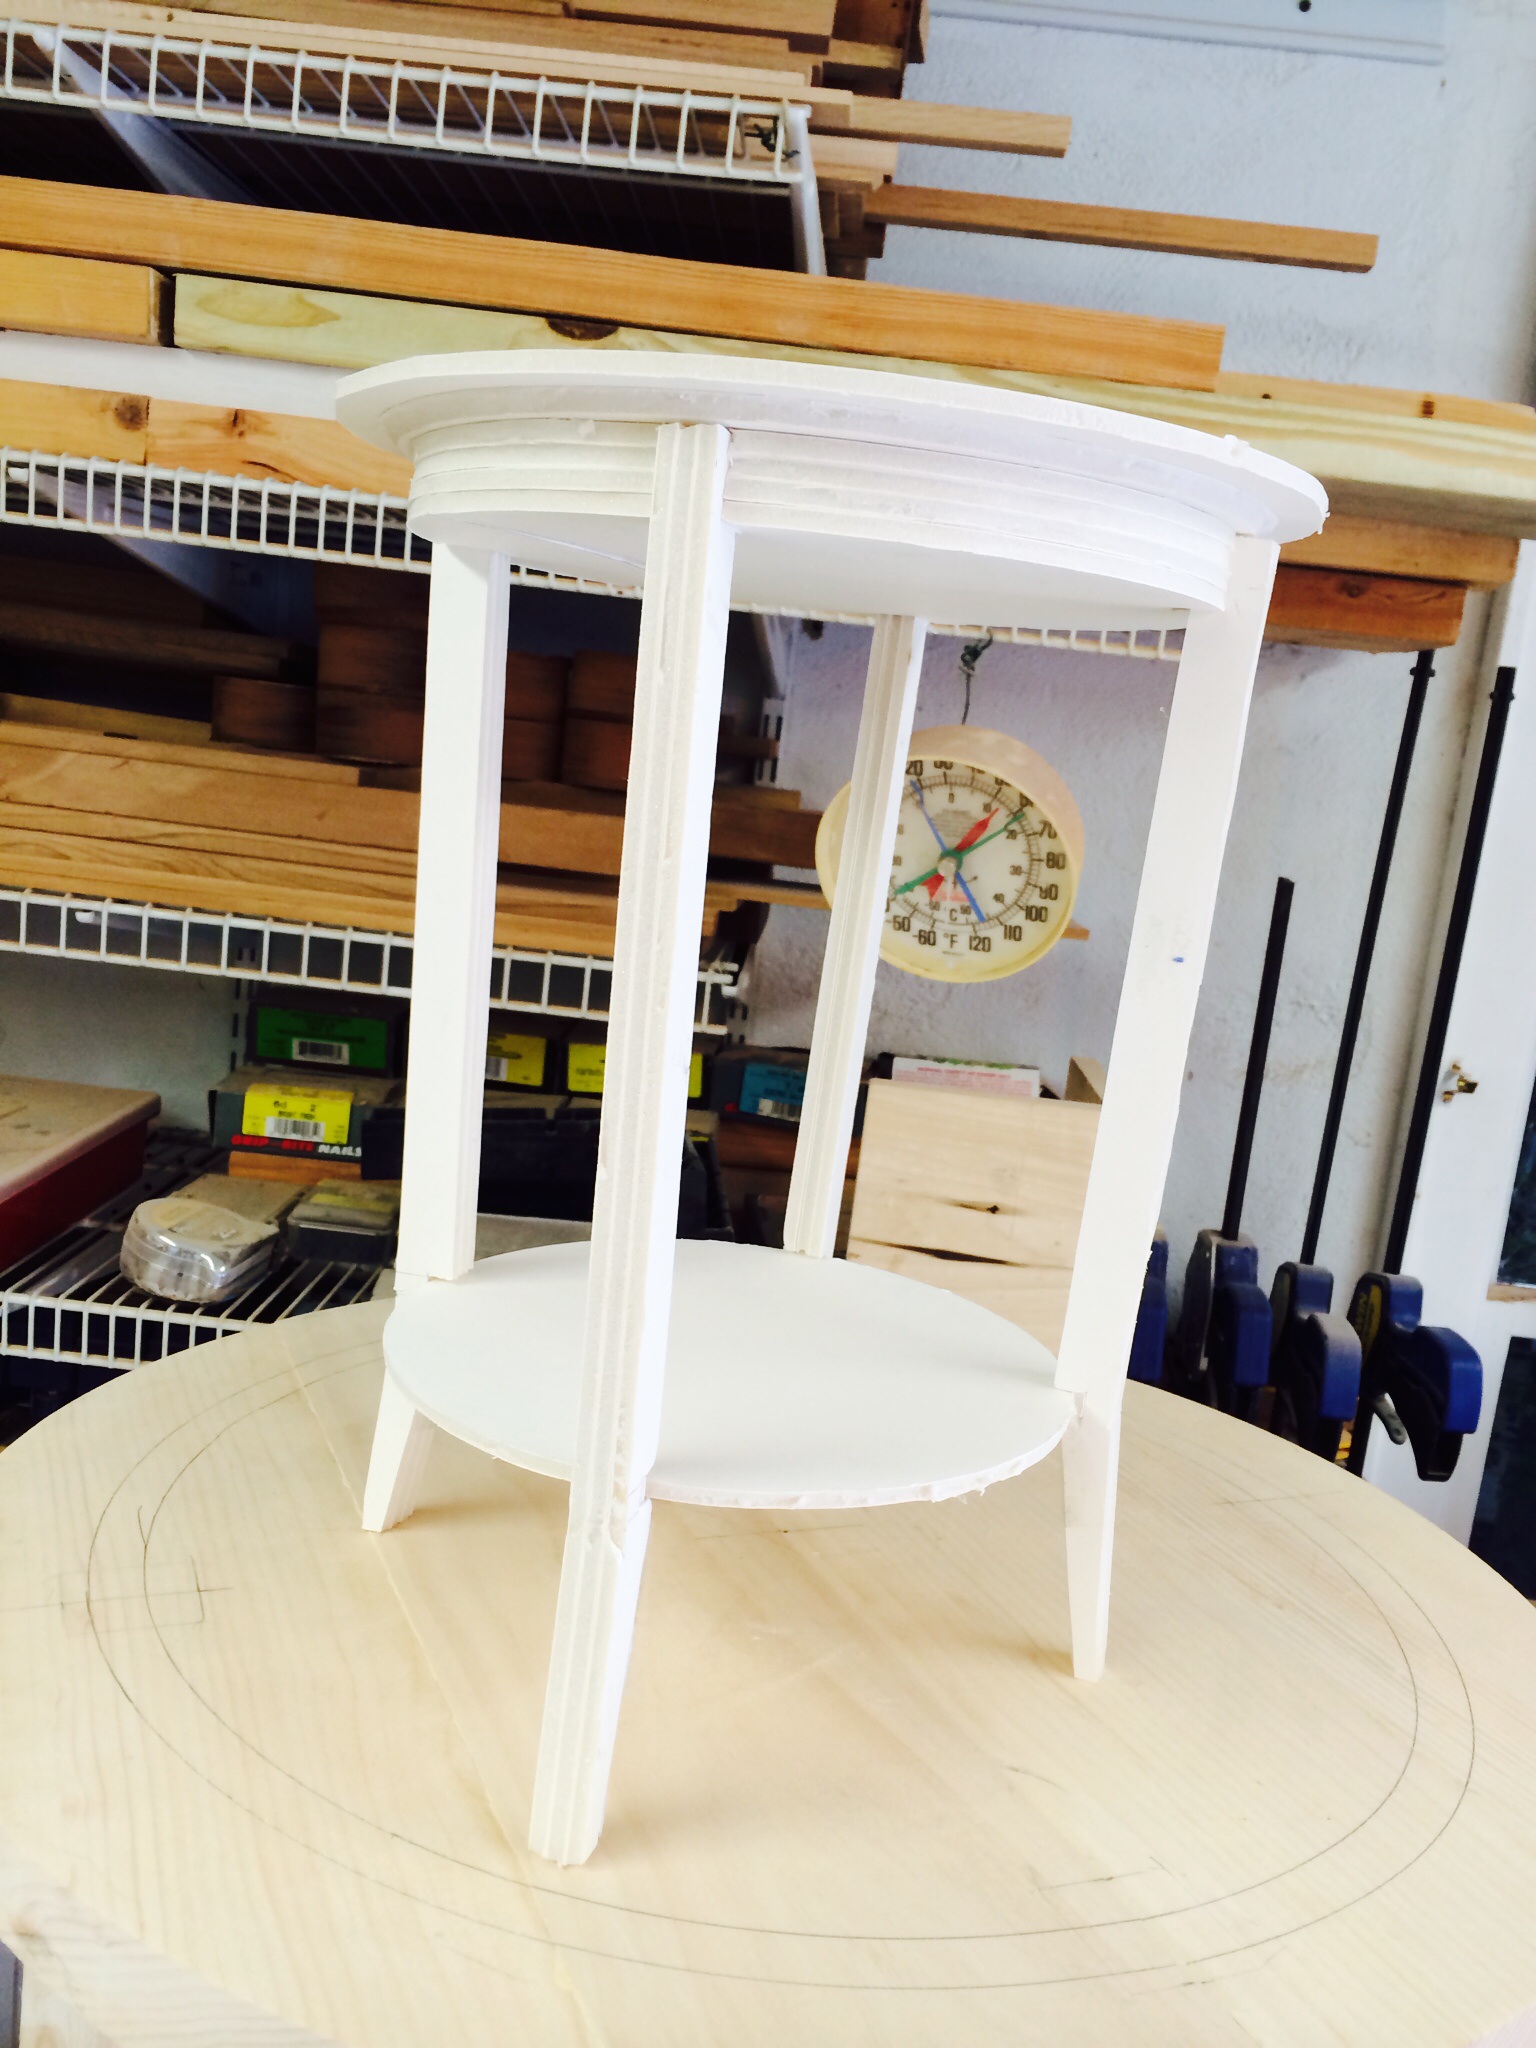
half scale model
The first order of business was to make a model and work out the proportions. Paolo gave me a height that would work with there couch of 29 in. I build a half scale model out of foamcore.
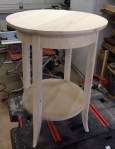
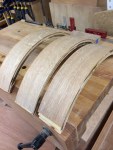
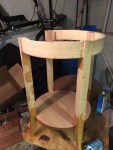
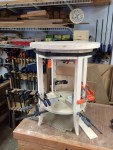
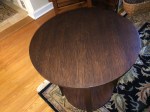
Next was to make a full size prototype to work out the details, especially how to make the curved rails and how to join them to the legs. I used a mix of poplar and pine. After considering making the rails by steam bending or by bent lamination, I opted for ‘wigglewood’ – bendable plywood. I build a form curved to match the inside of the curve of the rail. I glued two pieces of wigglewood together an clamped them to the form and, once dry, they keep that shape.
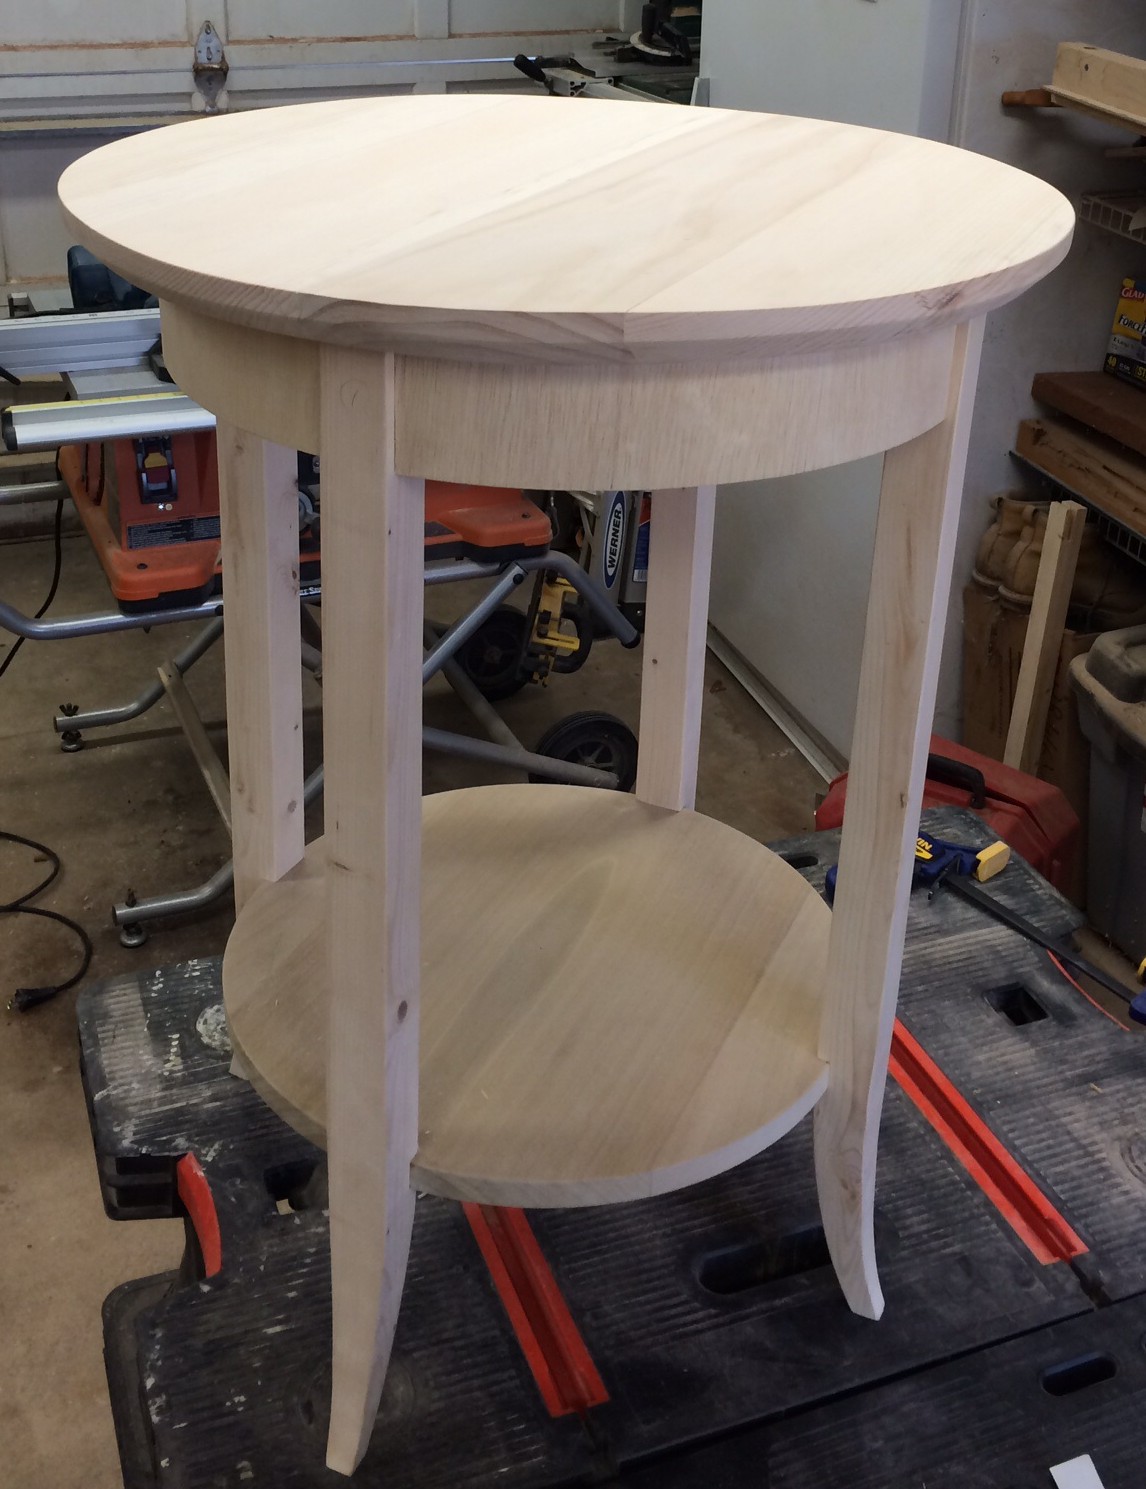
poplar/pine prototype
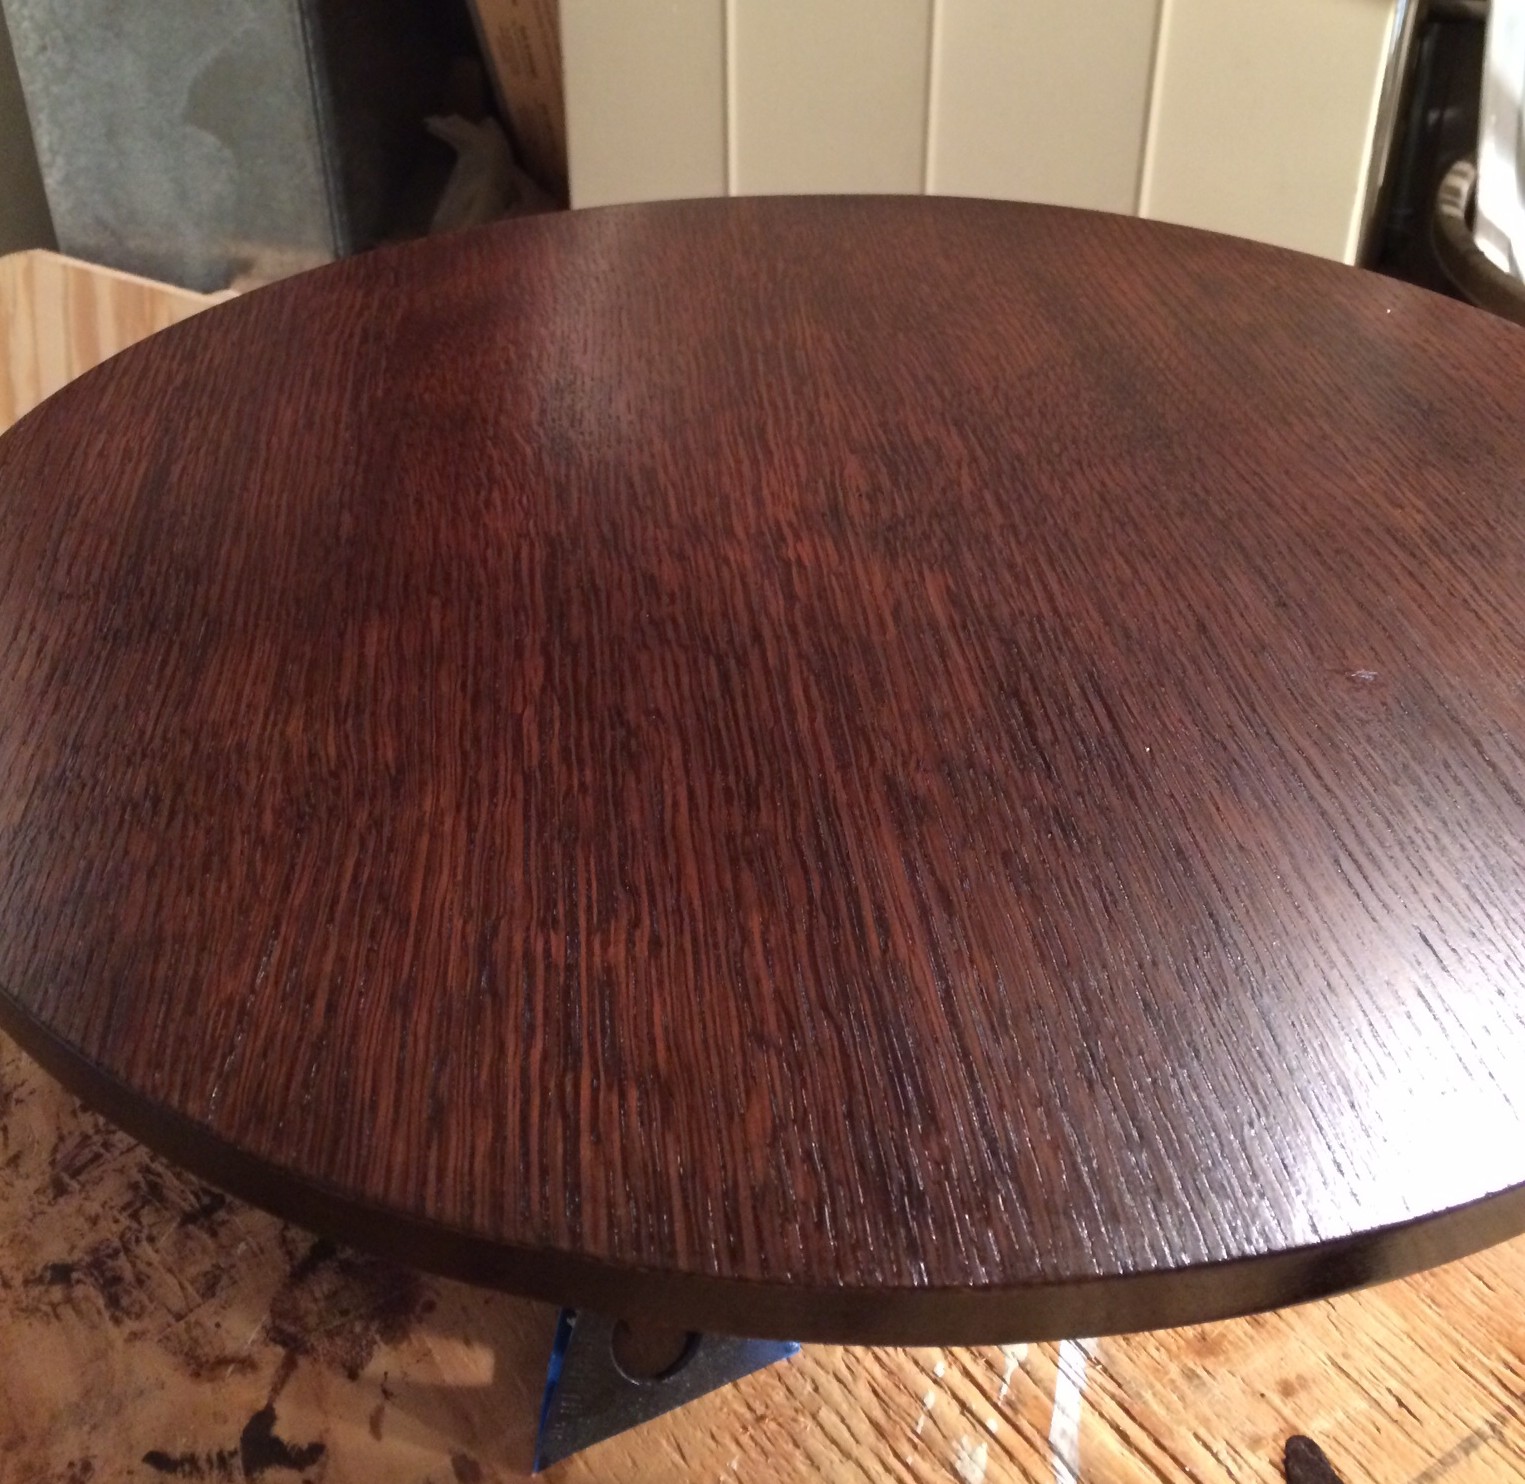
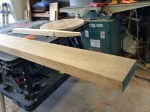
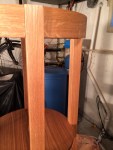
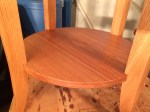
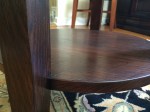
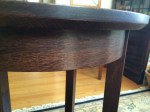
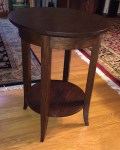
 I picked up some great looking white oak at my lumber supplier. I was able to lay out the legs to show some quartersawn grain on the faces. The top was put together from four pieces of riftsawn stock to make a very straightgrained ‘calm’ top. The bottom shelf is from three pieces with a nice oval grain pattern in the center.
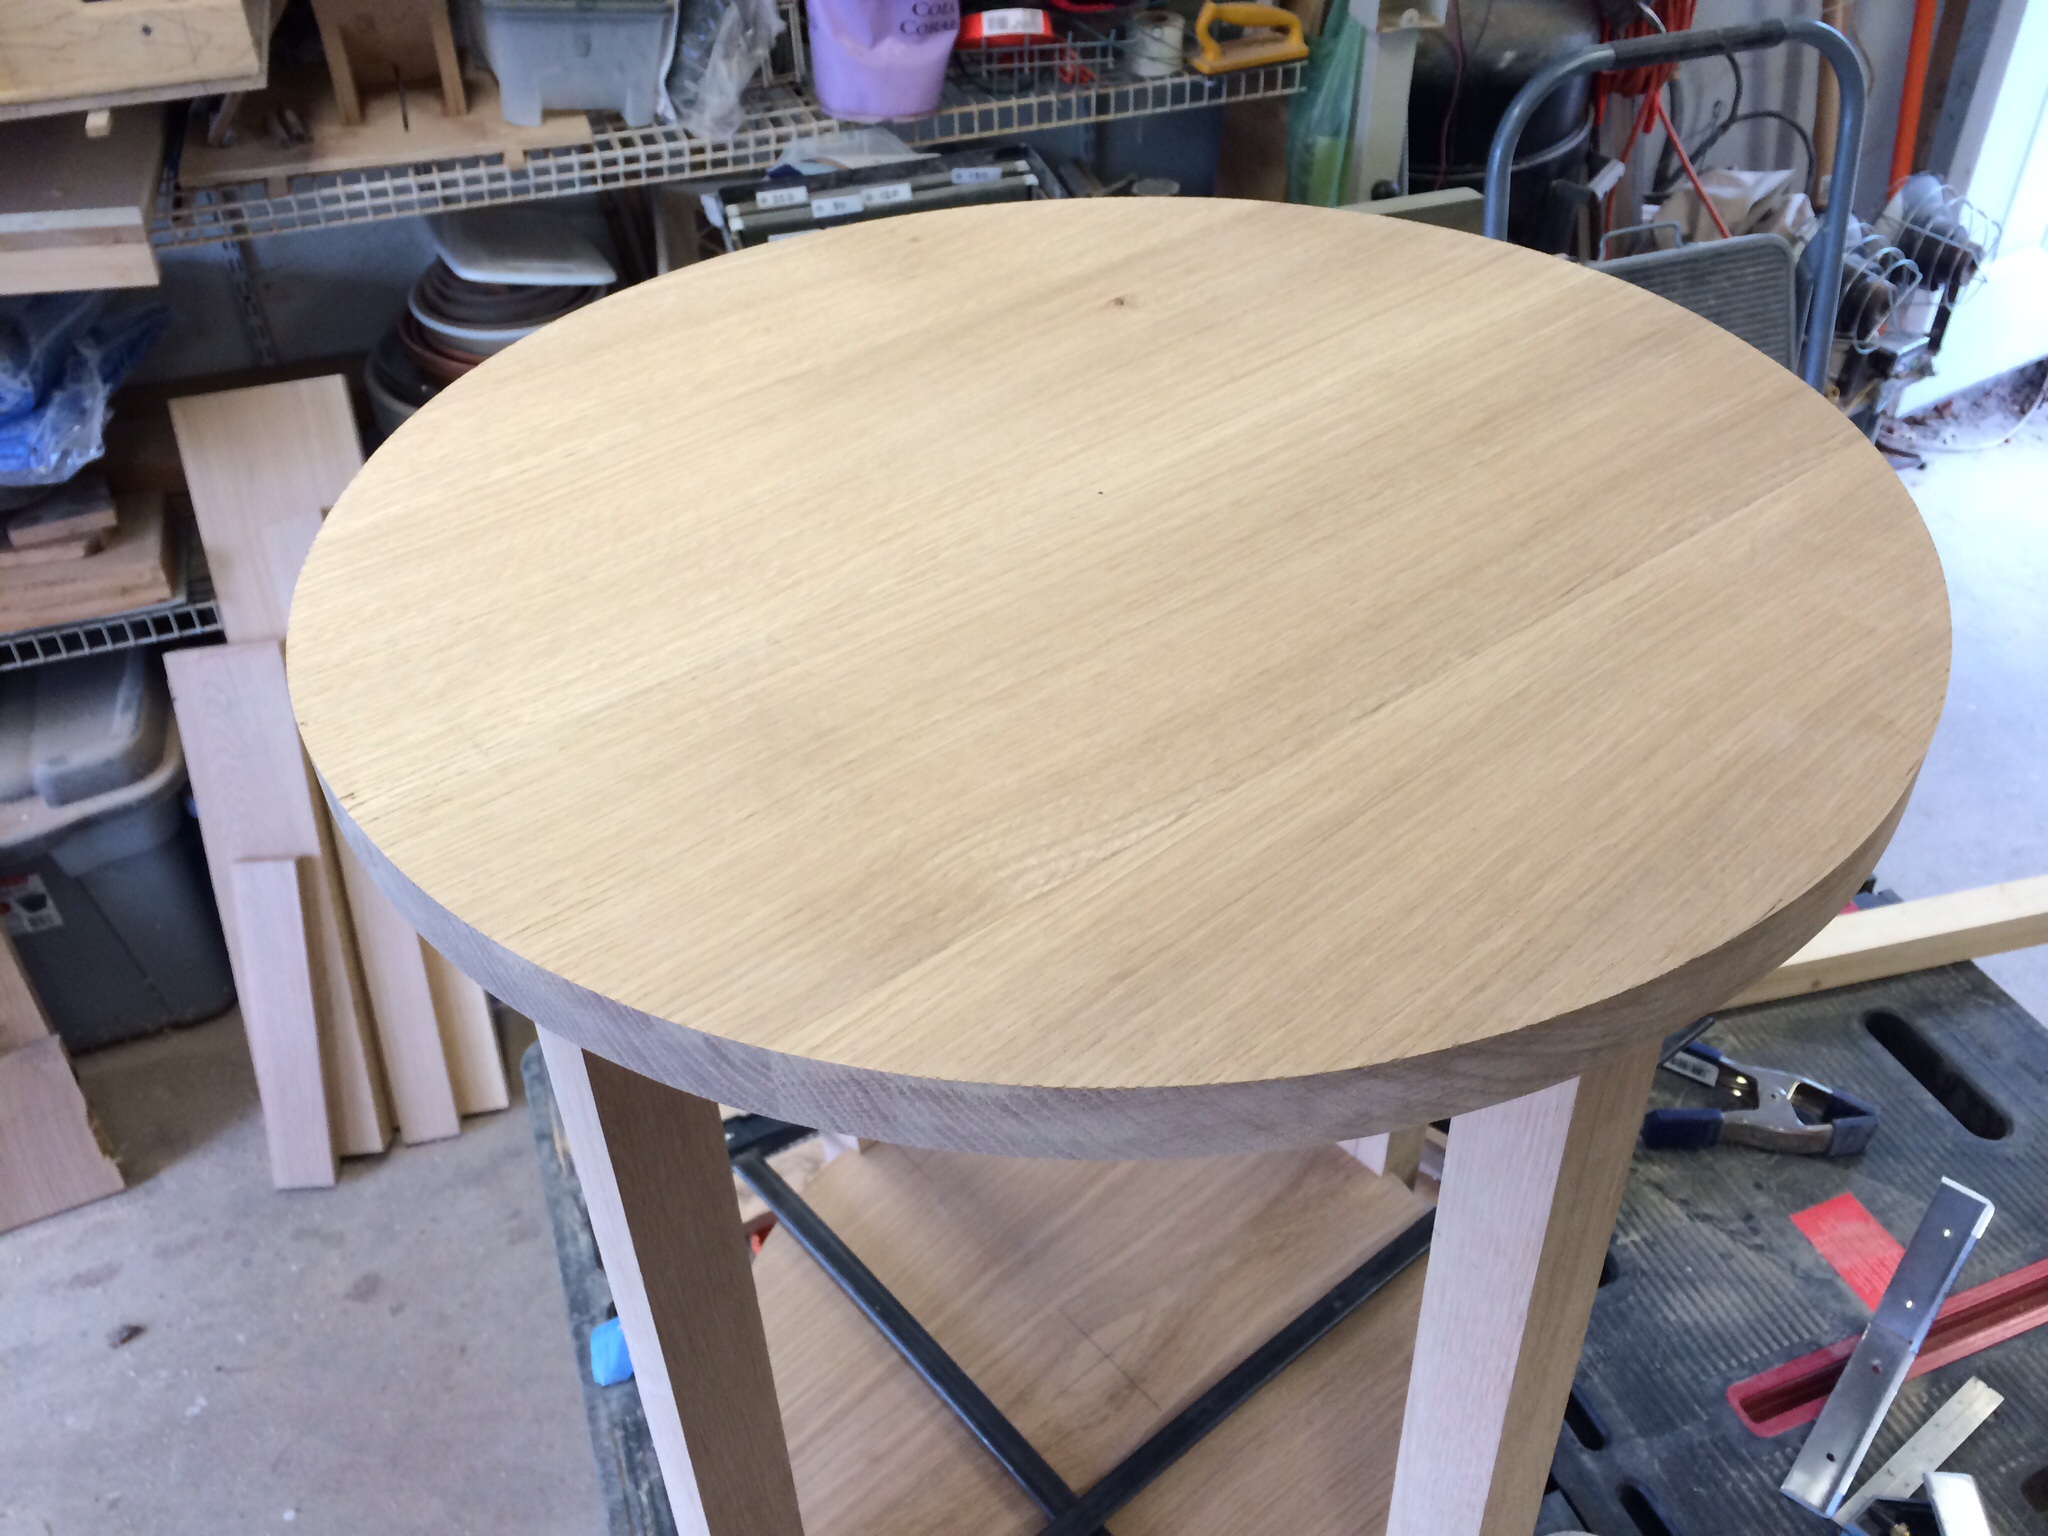
riftsawn top, nice straight grain
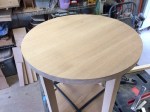
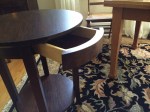
The curved rails were a cinch, given the prototype, with two changes – the outside curve got a covering of quartersawn white oak veneer and the inevitable secret drawer. I didn’t ‘prototype’ the drawer because I wasn’t concerned with how it would work. I fitted a 1/4 inch piece of plywood into the 4 legs at the same level as the bottom of the curved rails for the drawer to slide on.
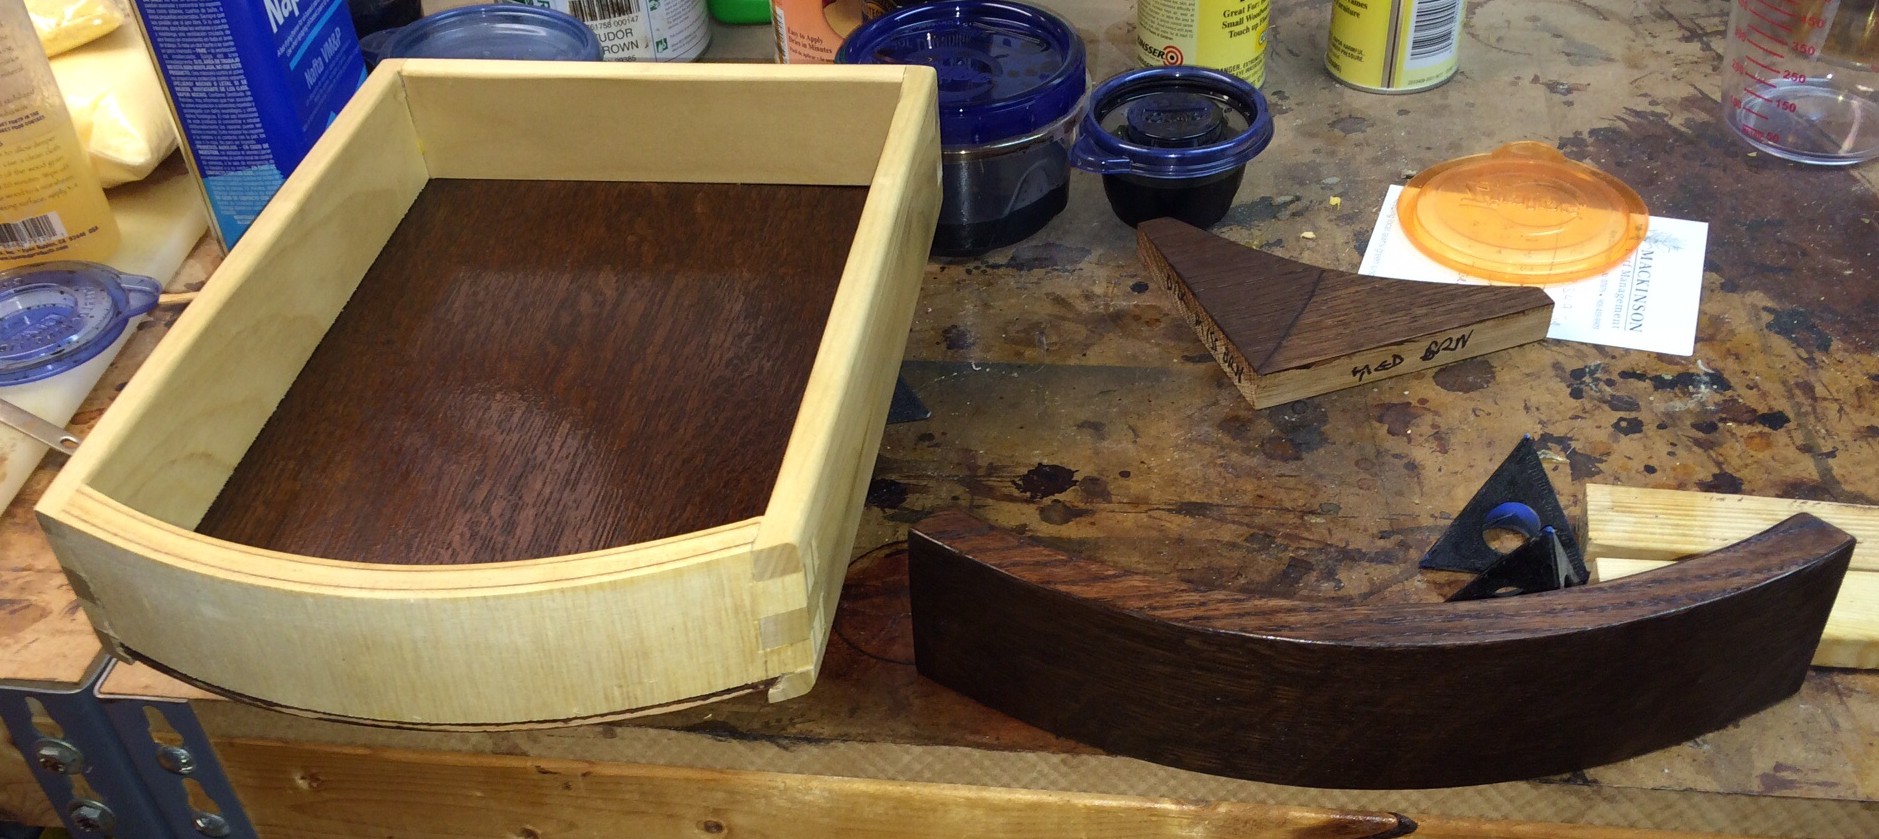 I built a drawer from 1/2 inch poplar joined with finger joints. The challenge was finger jointing a curved front to the drawer. I cut the finger joints with a router jig I have, then fitted the curves with a chisel. The drawer bottom is 1/4 inch plywood with white oak veneer. The four legs have a dado cut into them for the bottom shelf to fit into. I glued it in and them put pocket screws in from the bottom for good measure.
A couple of coats of finish…
The gorgeous couple.
-
- half scale foamcore model
-
- There’s a table in there somewhere
-
- poplar and pine prototype
-
- The glued up top
-
- riftsawn top, nice straight grain
-

- drawer w/curved front
-
- Curved rails w/veneer
-
- Prototype starting to come together
-
- A little boiled linseed oil pops the grain
-
- Oil brings out the grain
-
- We b oilin’
-
- Gluing up the prototype
-
- bottom shelf
-
- Nice curved rail
-
- The secret drawer
-
- Top looks good!
-
- Finished!
