
 Dateline – December 7, 2013 (already a date which lives in infamy) in the Twitterverse: Chris Wong of Flair Woodworks in Vancouver tweets to his large following, “Anybody else interested in joining in on a shop stool build-off sometime next year?”, Rusty takes the bait and tweets back, “love the idea”, Chris responds, “would you like to participate” and it starts. I like the idea of ‘building along’ with others because it usually pushes me to build something I might not have done otherwise. It allows me to be part of a shared experience where I know I will learn from others and end up with a richer experience than if I was on my own. I did that back in the late fall with the Young Artist’s Easel build with The Woodwhisper.
  Chris set up a Pinterest Board to gather together ideas for stools and I was immediately drawn to this one – both form and function. Two things jumped out at me: the height of the seat is adjustable and the seat is upholstered. I have machines and work tables at different heights, so adjustable is a must. I’ve been toying with doing some upholstery for a while and to be able to learn on a shop stool instead of the living room chair is perfect – and I have a piece of upholstery leather in the shop. The form is kind of arts and crafts, even blocky, but certainly sturdy. The design appeared in the September, 1992 issue of Wood Magazine. So I had a plan and even an article on how to build it.
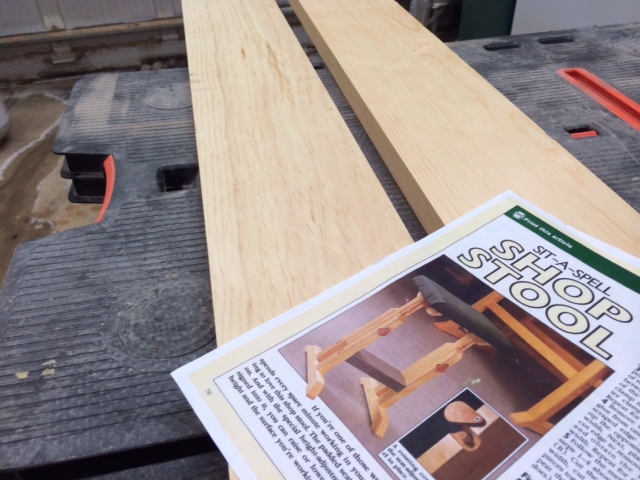
White Pine boards and the Wood Magazine article
I decided to use construction grade studs, it is a shop stool all, but at the big box store, they had some straight-grained 5/4 Eastern White Pine that looked great. A couple of 1x6s was all that was needed. The plans call for mortise and tenon joinery, but the mortises are made by cutting dadoes in 1x material and then gluing them up to form the mortise. Really quick and easy and accurate. I cut tenons with the same dado blade in the table saw.
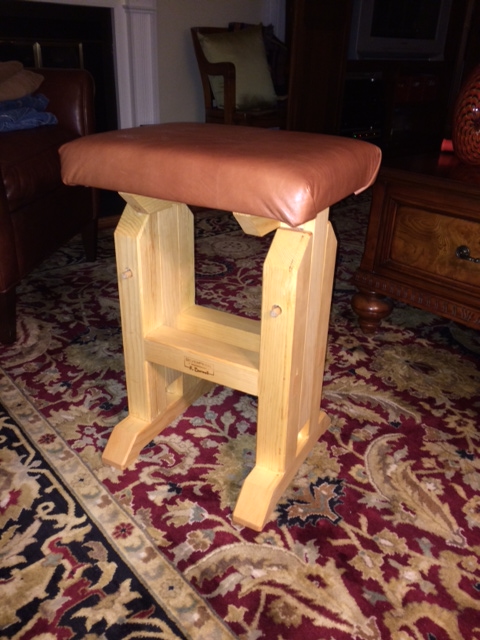
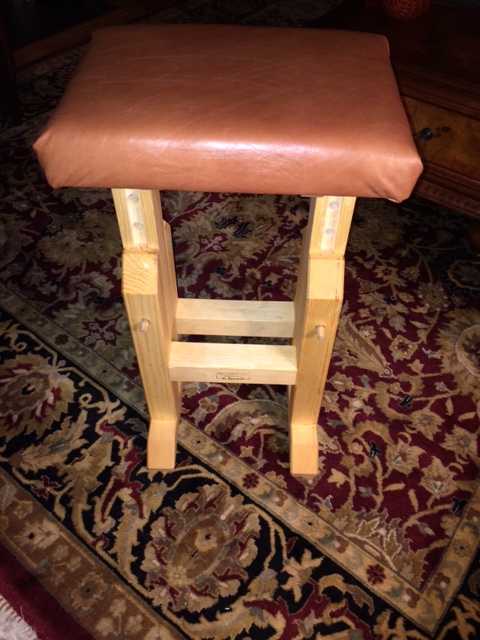
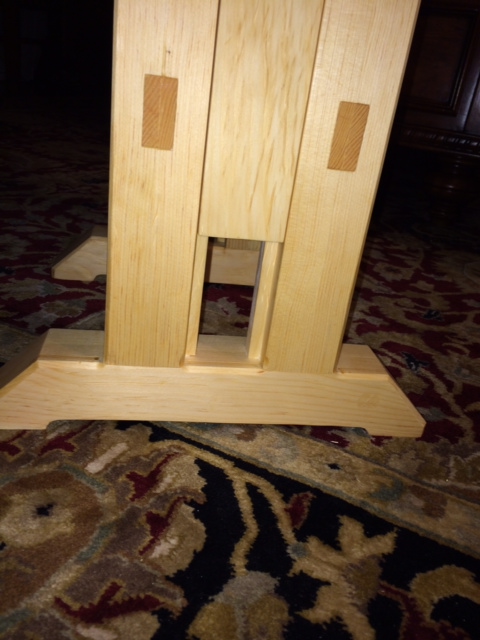
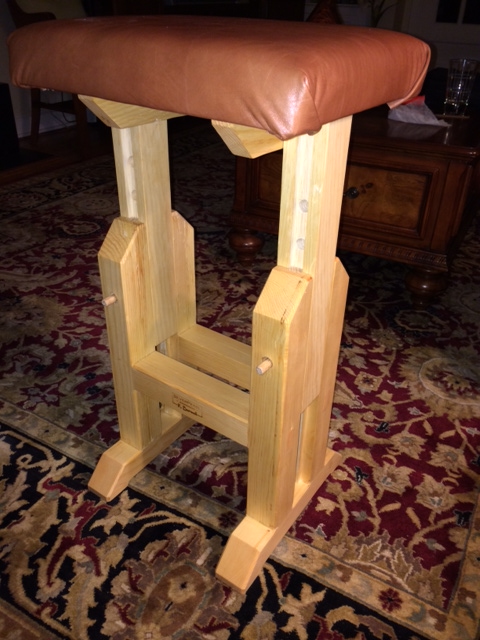
The legs are mortised into the feet and there are stretchers mortised into the legs. All of them are ‘through-mortises’ that go all the way through the piece so the tenons are exposed. Dados were cut in the 4 legs and the 2 posts
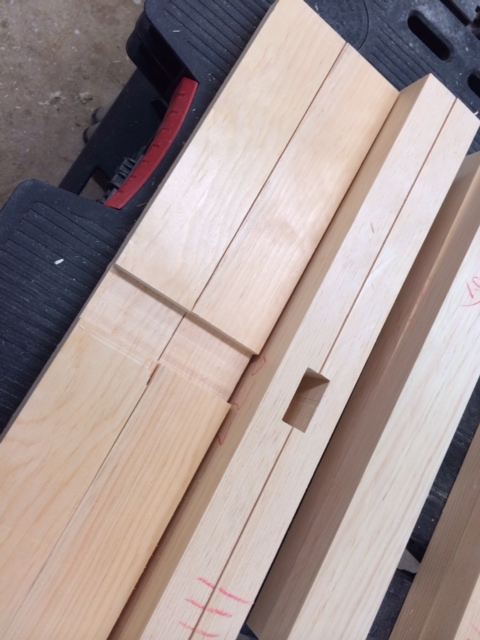
dados form the mortise
with the seat on top that rides between the legs. Then a small rail was glued into the leg dado forming a tongue that fit in the post. Nifty and efficient.
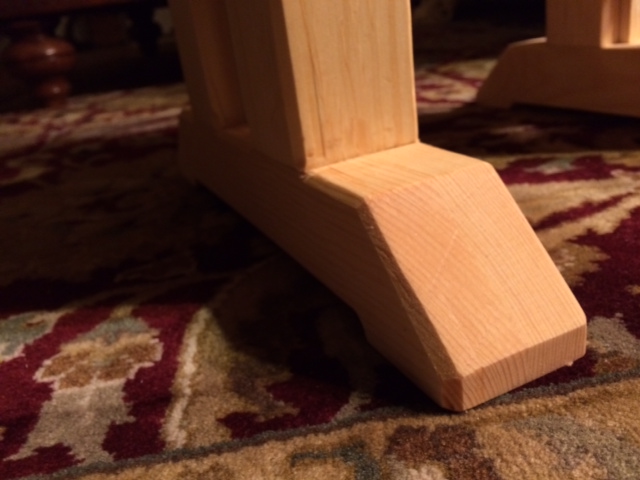
Once all the parts were cut, 45 degree angles were cut on the feet, tops of the legs and the rails underneath the seat. This lightened up the pieces a lot and I think gives it an arts and crafts feel. Most of the exposed edges were chamfered which lightens it up even more.
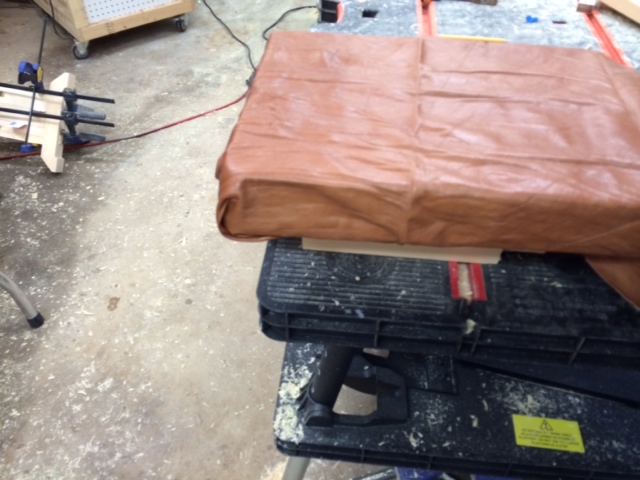
The big new challenge was the leather covered seat – time to learn upholstery.
need to tighten that up a bit!
I cut a piece of plywood and glued a 2-inch piece of foam to the top. Some batting over the foam and then a piece of muslin pulled over and tacked to the bottom. Then the scary part, cutting the leather and tacking it to the bottom. Not too bad all told and it looks almost professional – definitely something I will continue to explore.
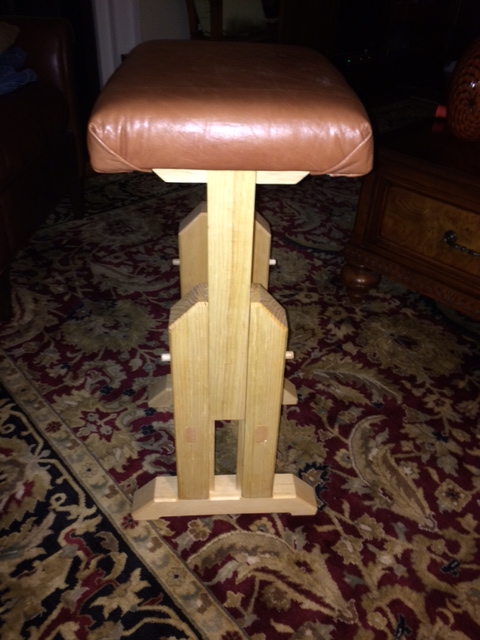
I decided to try a new finish for me – mixing my own, but a classic recipe…1/3 varnish, 1/3 boiled linseed oil and 1/3 thinner (I used naptha).  It went on like a dream and a couple of coats later, adding the SilverPearl Woodworking logo with my new branding iron and I’m done.
 href=”https://silverpearlwood.com/wp-content/uploads/2014/01/seat.jpg”>
